As an Amazon, ShareASale and Impact Associate, we earn from qualifying purchases. This means that if you click on a link in our blog and purchase an item from Amazon or any of the ShareASale & Impact partners, we receive an affiliate commission at no extra cost to you. This helps us keep our content free and continue to provide valuable information. Thank you for your support! Read our full disclosure here
Welcome to your ultimate guide on how to DIY a farmhouse table. If you’ve ever admired the rustic charm of a farmhouse table and wondered if you could create one yourself, you’re in the right place. This guide will walk you through every step of the process, from gathering materials to adding the finishing touches. By the end, you’ll have all the knowledge you need to craft your own rustic masterpiece.
Why Choose DIY for Your Farmhouse Table?
The Joy of Crafting Your Own Furniture
There’s something incredibly satisfying about crafting your own furniture. It’s not just about saving money or adding a personal touch (though those are great perks!). It’s about the sense of accomplishment you feel when you step back and admire a piece of furniture you’ve created with your own two hands. It’s about the stories you’ll tell when guests admire your handiwork. And trust me, they will admire it.
Personalizing Your Farmhouse Table
When you buy a piece of furniture from a store, it’s likely that thousands of other people have the exact same piece in their homes. But when you DIY your farmhouse table, you get to infuse it with your personality. You can choose the type of wood, the finish, and even the size that best fits your space.
For instance, when we were choosing wood for our farmhouse table, we opted for reclaimed oak because of its unique character and history. It’s these personal touches that make your DIY farmhouse table truly one-of-a-kind.
Saving Money with DIY Projects
Let’s not forget one of the biggest advantages of DIY projects: the potential to save money. When you DIY your farmhouse table, you’re only paying for materials and tools (many of which you might already have). Compare that to the cost of buying a new farmhouse table, and the savings can be substantial.
Gathering Your DIY Farmhouse Table Materials
Essential Tools for Your DIY Project
Before you start your DIY farmhouse table project, you’ll need to gather some essential tools. Here’s a quick list to get you started:
- A saw (a circular saw or table saw will do)
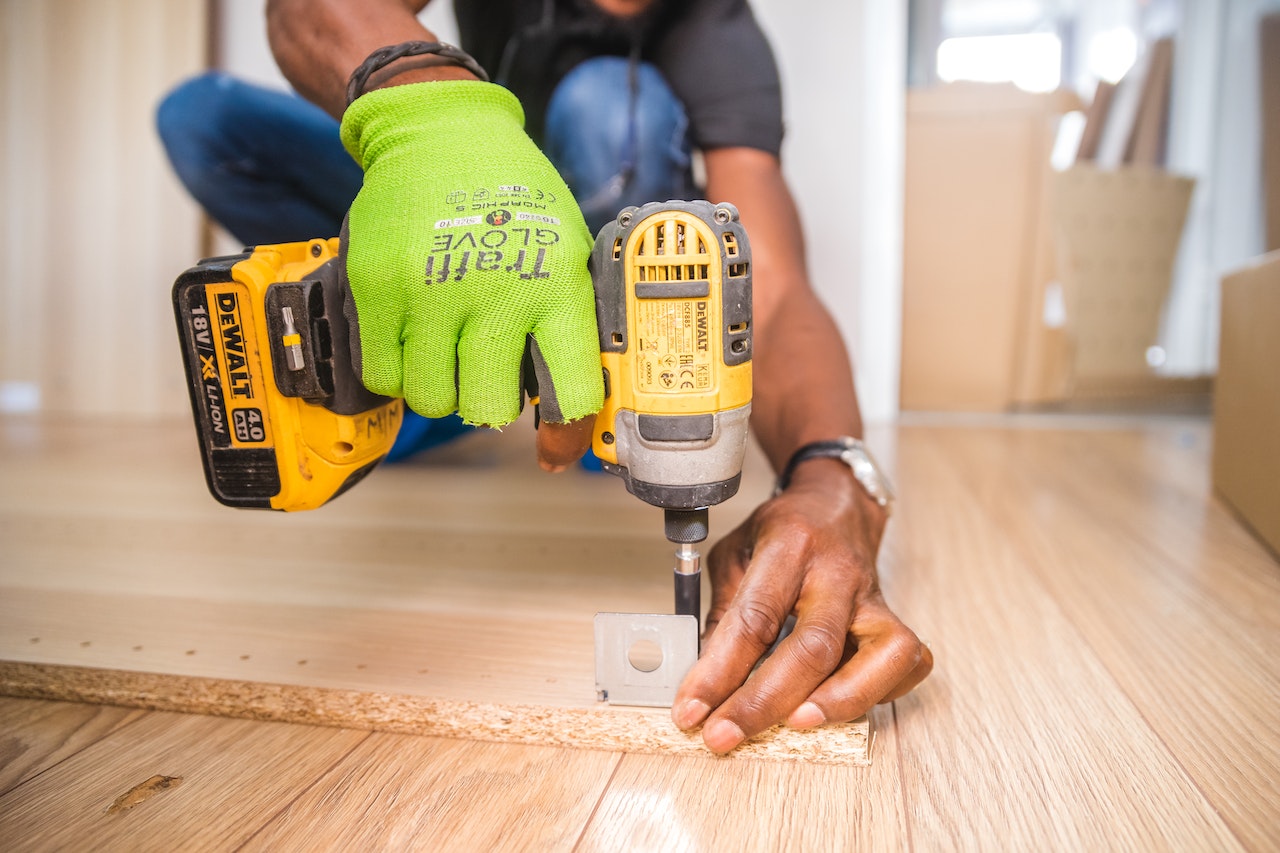
- A drill
- Sandpaper (various grits from coarse to fine)
- Wood glue
- Clamps
- A tape measure
- A square
Remember, investing in good-quality tools can make your DIY project easier and more enjoyable. Plus, you’ll be able to use them for future projects as well.
Choosing the Right Wood for Your Farmhouse Table
Pine vs. Oak: Which is Better for a DIY Farmhouse Table?
Choosing the right wood for your farmhouse table is crucial. Pine and oak are two popular choices, each with its own pros and cons. Pine is softer and easier to work with, making it a great choice for beginners. It’s also less expensive than oak. However, oak is more durable and has a beautiful grain that many people love. For our farmhouse table, we chose oak because of its durability and timeless appeal.
Safety Equipment: Don’t DIY Without It!
Last but not least, don’t forget about safety equipment. Safety glasses, ear protection, and a dust mask are all essential when you’re cutting and sanding wood. Remember, your safety is always the most important thing.
Step-by-Step Guide: How to DIY Farmhouse Table
Now that you’ve gathered your materials and prepared your workspace, it’s time to dive into the fun part: crafting your DIY farmhouse table. This step-by-step guide will walk you through the process, from cutting and assembling the table top to adding the finishing touches.
Preparing Your Workspace
Before you start cutting and assembling, make sure your workspace is ready. You’ll need a flat, stable surface to work on, like a workbench or a large table. Make sure you have plenty of room to move around and that all your tools and materials are within easy reach. And don’t forget to put on your safety equipment!
Cutting and Assembling the Table Top
The first step in crafting your farmhouse table is to cut and assemble the tabletop. Here’s how:
- Measure and mark the length of your tabletop on your wood planks.
- Use your saw to cut the planks to the right length.
- Lay the planks side by side and apply wood glue along the edges.
- Clamp the planks together and let the glue dry.
Remember, it’s important to measure twice and cut once to ensure a perfect fit.
Crafting the Perfect Farmhouse Table Legs
Next, it’s time to craft the legs for your farmhouse table. You can make them as simple or as intricate as you like. Just make sure they’re sturdy enough to support the weight of the tabletop.
- Measure and mark the length of your table legs on your wood.
- Cut the legs to the right length.
- Sand the legs until they’re smooth.
Joining the Table Top and Legs
Once your tabletop and legs are ready, it’s time to join them together. Here’s how:
- Position the legs on the underside of the tabletop.
- Drill pilot holes through the tabletop and into the legs.
- Screw the legs into place.
Adding the Finishing Touches
Choosing the Right Stain for Your Farmhouse Table
The final step in crafting your DIY farmhouse table is to add the finishing touches. This usually involves staining the wood to give it a beautiful, rustic look. When choosing a stain, consider the color and grain of your wood. A darker stain can highlight the grain and add depth to the wood, while a lighter stain can give your table a more natural, rustic look.
How to Apply a Rustic Finish to Your DIY Farmhouse Table
Applying a rustic finish to your farmhouse table is easier than you might think. Here’s a simple method:
- Apply a coat of stain to your table using a brush or rag.
- Let the stain soak in for a few minutes, then wipe off any excess with a clean rag.
- Let the stain dry completely.
- Apply a coat of clear finish to protect the wood and give it a beautiful shine.
Troubleshooting Common DIY Farmhouse Table Problems
Even with the best planning and execution, you might run into a few problems when crafting your DIY farmhouse table. But don’t worry – most of these issues are easy to fix.
Fixing Uneven Table Legs
If your table wobbles, it might be because one or more of the legs are uneven. To fix this, simply sand the bottom of the longer legs until they’re the same length as the shorter ones.
Dealing with a Wobbly Table Top
If your tabletop is wobbly, it could be because the legs aren’t securely attached. Check the screws to make sure they’re tight. If that doesn’t work, you might need to add some additional support, like a brace or a crossbar.
Removing Stains and Scratches from Your Farmhouse Table
Over time, your farmhouse table might get a few stains or scratches. Here’s how to deal with them:
- For stains, try gently rubbing the area with a cloth dampened with a mixture of mild soap and water. For stubborn stains, you might need to sand the area lightly and reapply the finish.
- For scratches, you can use a wood filler or putty to fill in the scratch. Once it’s dry, sand the area smooth and reapply the finish.
Remember, a few imperfections can add to the rustic charm of your farmhouse table. So don’t stress too much about making it perfect. The most important thing is that you’ve created a beautiful, functional piece of furniture that you can be proud of.
In the next section, we’ll discuss how to maintain your DIY farmhouse table to ensure it lasts for many years to come.
Maintaining Your DIY Farmhouse Table: Tips and Tricks
Crafting your DIY farmhouse table is a significant achievement, but the journey doesn’t end there. To ensure your rustic masterpiece stands the test of time, you’ll need to maintain it properly. Here are some tips and tricks to help you do just that.
Regular Cleaning for a Long-Lasting Farmhouse Table
Regular cleaning is the first step to maintaining your farmhouse table. Dust and clean your table regularly with a soft, dry cloth. For deeper cleaning, use a slightly damp cloth and mild soap. Avoid using harsh chemicals or abrasive cleaners as they can damage the wood.
When to Refinish Your Farmhouse Table
Over time, your farmhouse table might lose some of its luster. When this happens, it might be time to refinish it. Refinishing involves sanding down the old finish and applying a new one. It can breathe new life into your table and make it look new again. As a rule of thumb, consider refinishing your table every few years, or when the finish starts to look worn or scratched.
Protecting Your Farmhouse Table from Damage
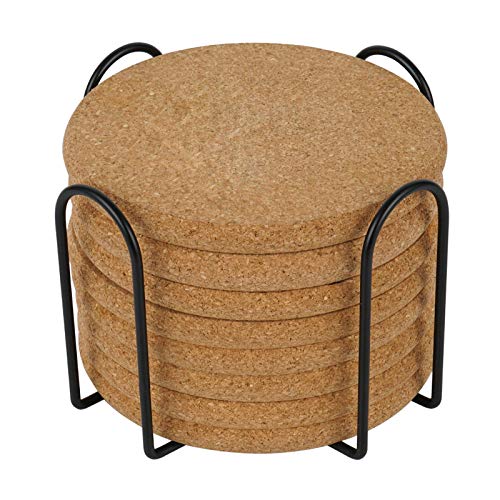
Protecting your farmhouse table from damage is crucial. Use coasters or placemats to protect the surface from hot dishes or liquids. Avoid placing heavy objects on the table that could cause it to warp or crack. And remember, direct sunlight can fade and damage wood, so try to position your table away from windows or other sources of direct sunlight.
Final Thoughts
Congratulations! You’ve crafted your DIY farmhouse table, learned how to maintain it, and hopefully picked up some useful woodworking skills along the way. Now it’s time to enjoy your rustic masterpiece.
Whether you’re hosting a family dinner, playing a board game, or simply enjoying a quiet cup of coffee, your farmhouse table is more than just a piece of furniture. It’s a testament to your creativity, hard work, and DIY spirit. So take pride in it, enjoy it, and remember – every scratch, stain, or imperfection is just another story to tell.
Frequently Asked Questions about DIY Farmhouse Tables
How Long Does It Take to DIY a Farmhouse Table?
The time it takes to DIY a farmhouse table can vary depending on your skill level, the complexity of the design, and the amount of time you can dedicate to the project. However, most DIYers can expect to spend a few days to a week on this project.
Can I Use Reclaimed Wood for My Farmhouse Table?
Absolutely! Reclaimed wood can add a unique, rustic charm to your farmhouse table. Plus, it’s a great way to recycle and reduce waste. Just make sure the wood is clean, dry, and free from pests before you use it.
How Much Can I Save by DIY-ing My Farmhouse Table?
The cost savings of DIY-ing your farmhouse table can be significant. While the cost of a new farmhouse table can range from several hundred to several thousand dollars, DIY-ing your table can often be done for a fraction of the cost. Plus, you get the added satisfaction of creating something with your own two hands.
Here is a Video on a DIY Farmhouse Table

Charlie Victor
Charlie Victor is a go-to source for home decor, home improvement, DIY projects, and backyard makeovers. Based in Florida, he has been transforming homes and businesses across the state since 2005. When he isn’t working, you can find him surfing out on Miami waves!


