As an Amazon, ShareASale and Impact Associate, we earn from qualifying purchases. This means that if you click on a link in our blog and purchase an item from Amazon or any of the ShareASale & Impact partners, we receive an affiliate commission at no extra cost to you. This helps us keep our content free and continue to provide valuable information. Thank you for your support! Read our full disclosure here
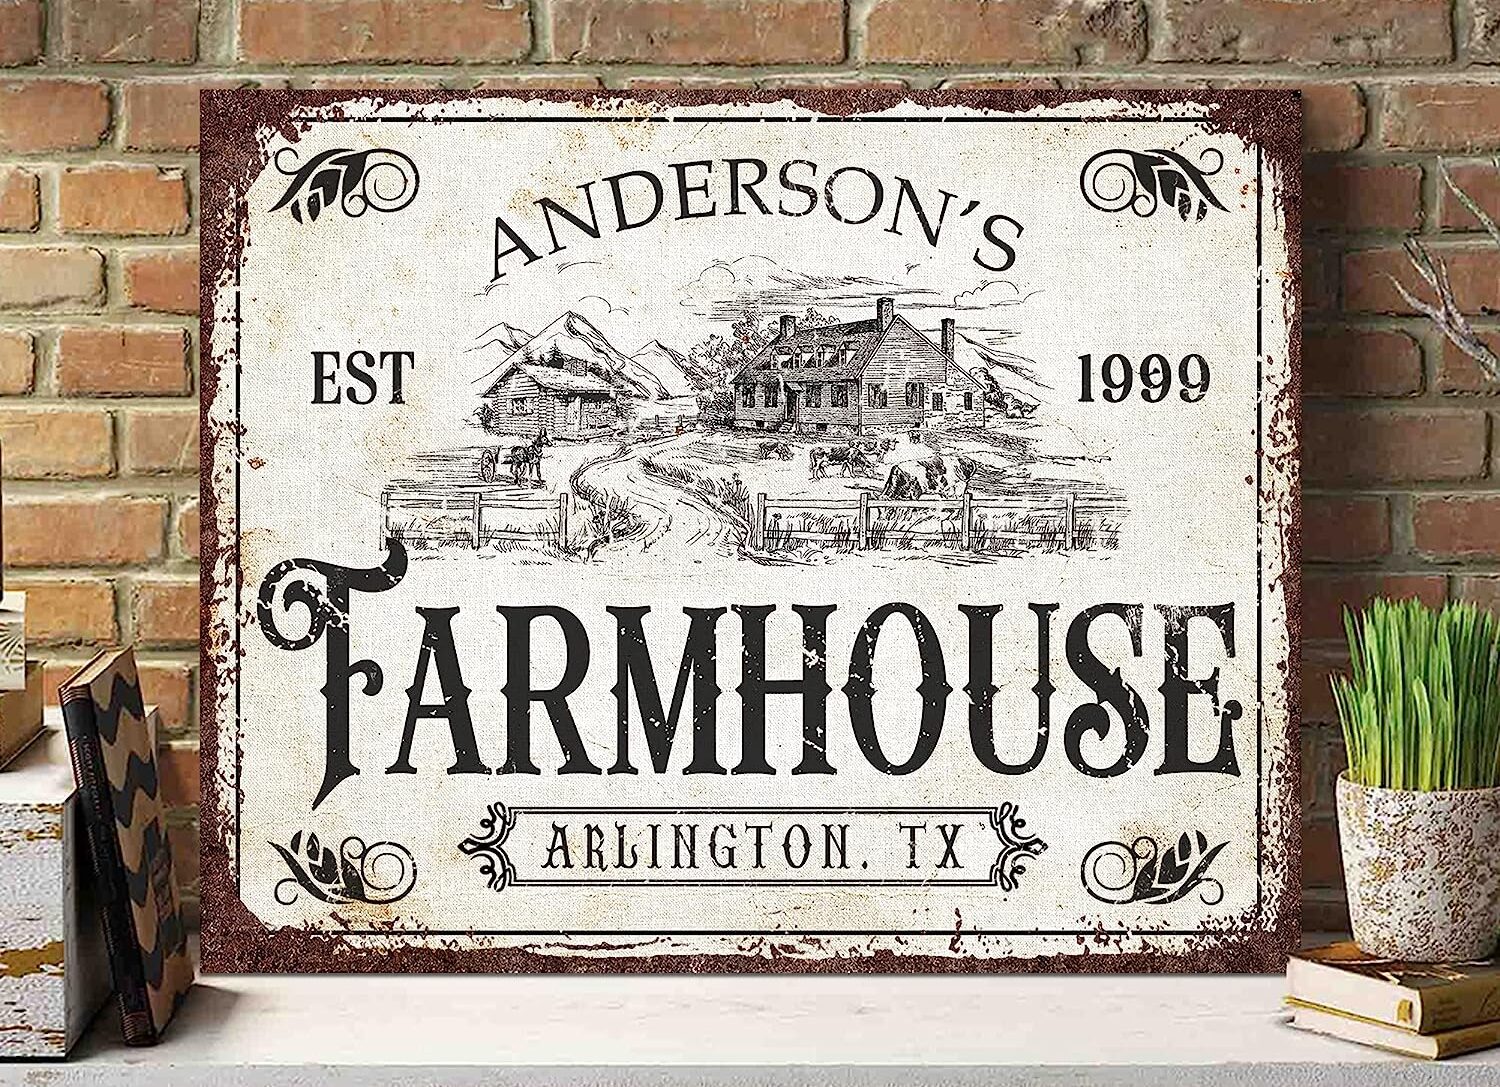
There’s something undeniably charming about rustic farmhouse decor. It’s a style that exudes warmth, comfort, and a sense of history that can make any house feel like a home. And when it comes to farmhouse decor, nothing quite captures its essence like a well-crafted farmhouse sign.
These signs, often bearing heartfelt messages or family names, add a personal touch that truly brings the decor together. In this blog post, we’ll guide you through the process of creating your own farmhouse signs, allowing you to add a dash of rustic charm to your home.
The Basics of Farmhouse Signs
What Makes a Sign ‘Farmhouse Style’?
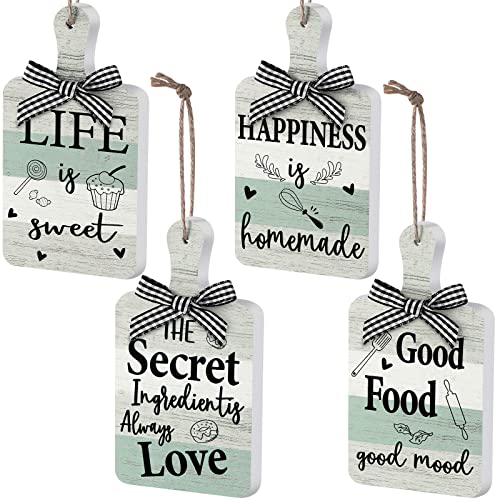
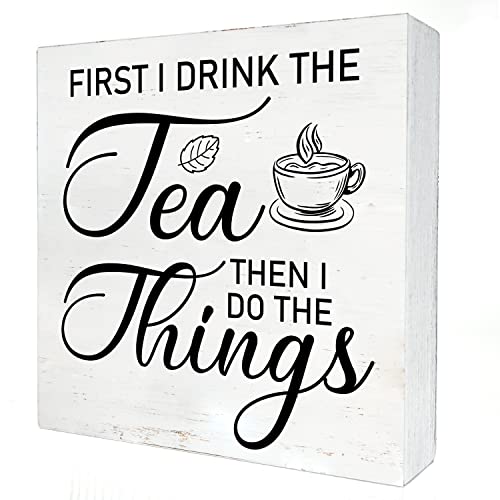
Farmhouse style is all about simplicity, rustic charm, and a personal touch. When you think of a farmhouse sign, imagine a piece of decor that feels like it has a story to tell. It’s not just about the words on the sign, but the way those words are presented.
Farmhouse signs often feature:
- Simple, readable fonts
- Neutral or muted colors
- Distressed or weathered finishes
- Heartfelt or homey messages
Remember, the goal is to create a sign that feels like it belongs in a cozy, country farmhouse, even if you’re in the heart of the city.
Materials You’ll Need to Create Your Own Farmhouse Sign
Creating your own farmhouse sign is a project that requires a few basic materials and tools. Here’s what you’ll need:
- A piece of wood: This will serve as the base of your sign. You can use reclaimed wood for an extra rustic touch, or a new piece of lumber for a cleaner look.
- Paint: Choose a color that matches your decor. Chalk paint is a popular choice for farmhouse signs due to its matte finish.
- Sandpaper: This will help you achieve that distressed, weathered look.
- A paintbrush: Any size will do, but a smaller brush will give you more control over your design.
- A stencil or vinyl decal: This is optional, but can make designing your sign much easier.
When I was creating a sign for our cozy reading nook, I found that a small, fine-tipped brush and a simple stencil were the perfect tools for the job. The stencil ensured my design was neat and readable, while the fine-tipped brush allowed me to add small details that really made the sign unique.
In the next section, we’ll dive into the step-by-step process of creating your farmhouse sign, from choosing and preparing your wood to painting and finishing your design. So, gather your materials and get ready to add a touch of rustic charm to your home with your very own farmhouse sign.
Step-by-Step Guide: How to Make Farmhouse Signs
Choosing the Right Wood for Your Farmhouse Sign
The first step in creating your farmhouse sign is choosing the right piece of wood. The type, size, and finish of the wood you choose can greatly impact the overall look of your sign.
Here are a few factors to consider:
- Type of Wood: Softwoods like pine, cedar, or fir are great choices for farmhouse signs. They’re easy to work with and take well to staining and distressing techniques.
- Size: The size of your sign will depend on where you plan to display it and the length of your message. A small sign might be perfect for a cozy kitchen nook, while a larger sign could make a statement in a living room or entryway.
- Finish: Do you want your sign to have a smooth, polished look, or a more rustic, weathered finish? The choice is yours!
When we were designing a sign for our back patio, we opted for a large piece of reclaimed cedar. Its natural weathering added a rustic touch that perfectly complemented our outdoor space.
Preparing Your Wood for the Sign
Once you’ve chosen your wood, it’s time to prepare it for your sign. This involves cleaning, sanding, and staining your wood to create the perfect canvas for your design.
- Cleaning: Start by wiping down your wood with a damp cloth to remove any dust or dirt.
- Sanding: Next, use sandpaper to smooth any rough edges and create a smooth surface for painting. If you’re going for a rustic look, you might want to leave some areas rougher than others.
- Staining: Finally, apply a wood stain to give your sign a rich, warm color. This step is optional but can add depth and character to your sign.
Remember, proper preparation is key to a quality finish. Don’t rush this step – take your time to ensure your wood is perfectly prepped and ready for painting.
Designing Your Farmhouse Sign
Now comes the fun part – designing your sign! This is where you can let your creativity shine. Whether you choose a heartfelt quote, your family name, or a simple word like “welcome”, make sure your design fits the farmhouse aesthetic.
Once you’ve chosen your design, it’s time to transfer it onto your wood. You can do this freehand or use a stencil or vinyl decal for more complex designs. When we made a sign for our kitchen, we used a vinyl decal of the word “gather” – it was easy to apply and gave us a crisp, professional-looking design.
Painting Your Farmhouse Sign
With your design in place, it’s time to start painting. Choose a paint color that complements your decor – remember, farmhouse style typically features neutral or muted colors.
When painting, use a small brush for precision and control. Apply the paint in thin, even strokes for a clean, professional finish. If you’re going for a rustic look, don’t worry about making it perfect – a few imperfections can add to the charm!
Finishing Touches for Your Farmhouse Sign
Once your paint is dry, you can add some finishing touches to your sign. Use sandpaper to lightly distress the edges and surface of your sign for a weathered look. Then, apply a clear sealant to protect your sign and give it a subtle sheen.
Finally, decide how you want to display your sign. You can add a hanger to the back for wall mounting, or simply lean it against a wall for a casual, laid-back look.
Advanced Techniques for Making Farmhouse Signs
How to Make a Double-Sided Farmhouse Sign
Want to get more bang for your buck? Consider making a double-sided farmhouse sign! This is a great option if you want to switch up your decor throughout the year.
To make a double-sided sign, simply follow the steps above for both sides of your wood. Just make sure your paint is completely dry before flipping your sign over to work on the other side.
Creating a Vintage-Look Farmhouse Sign
If you love the look of vintage decor, you might want to give your farmhouse sign an aged, vintage look. This can be achieved with a few simple techniques:
- Distressing: Use sandpaper to create wear and tear on your sign. Focus on the edges and high points, where natural wear would occur.
- Antiquing Glaze: Apply an antiquing glaze over your painted sign to give it an aged look. Wipe off the excess with a cloth, leaving the glaze in the crevices and corners of your design.
- Crackle Finish: For a truly vintage look, consider using a crackle finish. This product creates a cracked, peeling paint effect that mimics the look of aged paint.
Remember, the key to a convincing vintage look is subtlety. A little distressing goes a long way!
In the next section, we’ll cover some common issues you might encounter when making your farmhouse sign, and how to troubleshoot them.
Troubleshooting Common Issues in Making Farmhouse Signs
Even with the best planning and preparation, you might encounter a few hiccups along the way. But don’t worry – most issues are easily fixable. Let’s look at some common problems and how to solve them.
Dealing with Wood that Won’t Take Stain
Sometimes, you might find that your wood isn’t taking the stain as well as you’d like. This can be due to a variety of factors, such as the type of wood, its age, or the presence of a previous finish.
If you’re having trouble staining your wood, here are a few tips:
- Sanding: If your wood has a glossy finish, it might be repelling the stain. Try sanding it down to its natural state before applying the stain.
- Wood Conditioner: Some types of wood, like pine, are known for absorbing stains unevenly. Applying a pre-stain wood conditioner can help ensure a more even stain.
- Test First: Always test your stain on a small, inconspicuous area of your wood before applying it to the whole piece. This can help you avoid any unpleasant surprises.
Fixing Mistakes in Your Painted Design
Mistakes happen to the best of us – but they don’t have to ruin your sign. If you make a mistake in your painted design, don’t panic. Here’s what you can do:
- Wipe it Off: If you notice the mistake right away, you might be able to simply wipe off the paint with a damp cloth before it dries.
- Paint Over It: If the paint has already dried, you can paint over the mistake with your background color. Once it’s dry, you can repaint your design.
- Embrace It: Remember, farmhouse style is all about rustic charm. A few imperfections can add character to your sign and make it truly one-of-a-kind.
Final Thoughts
Creating your own farmhouse sign is a fun and rewarding project. With a bit of creativity and patience, you can create a beautiful piece of decor that adds a touch of rustic charm to your home. We hope this guide has given you the confidence to try making your own farmhouse sign. Remember, the most important thing is to have fun and make it your own. Happy crafting!
Frequently Asked Questions about Making Farmhouse Signs
Before we wrap up, let’s address some common questions about making farmhouse signs.
Q: Can I use any type of wood for my farmhouse sign?
A: While you can technically use any type of wood, softwoods like pine, cedar, or fir are typically the best choices. They’re easy to work with and take well to staining and distressing techniques.
Q: Do I have to distress my sign?
A: Not at all! Distressing is a popular technique for farmhouse signs, but it’s not a requirement. If you prefer a cleaner look, feel free to skip this step.
Q: Can I use a different type of paint?
A: Absolutely! While we recommended chalk paint for its matte finish, you can use any type of paint you like. Just make sure it’s suitable for wood.
Q: I’m not very artistic. Can I still make a farmhouse sign?
A: Of course! You don’t need to be an artist to make a beautiful farmhouse sign. Stencils and vinyl decals can help you create a professional-looking design, with no artistic skills required.
Remember, the goal is to create a sign that you love and that adds a personal touch to your home. So don’t be afraid to experiment and make it your own. Happy sign-making!


